Archive | Bottlecaps RSS feed for this section

A Sweet Treat: Recycled Bracelet

28 Oct

Welcome to bottle cap bracelet day!  This craft is awesome because it uses recycled materials and it is completely customizable to match your outfit, your mood or even your favorite cat.

finalCU

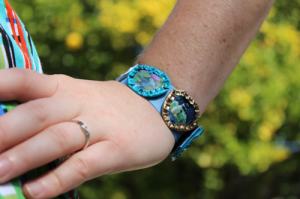
The finished bracelet

Total Craft Time: About an hour

Materials:

– 7 or 8 bottle caps depending on the thickness of your wrist

– 7 or 8 bottle cap sized images

-pliers

-hot glue gun

– 8″ of 1″ ribbon

– 1″ x 1/2″ square of velcro (both sticky and non-sticky side)

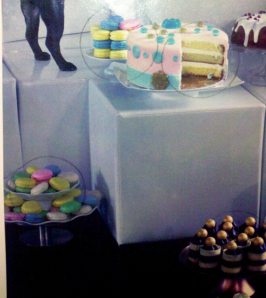
I found this super cute image of a girl in a cupcake store so the theme of this bracelet is sweet treats!treatpage
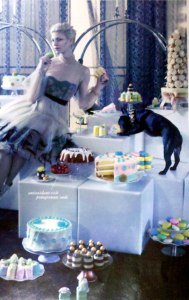
I made a little template by tracing a bottle cap and then I started tracing circles around all the tasty treats.

drawingcircles

I then cut out the circles, glued them inside bottle caps and painted a layer of craft lacquer on top to give the cupcakes a nice sheen.  After it dried, I used pliers to clamp down the edges and the freshly pressed treats were ready for braceleting!

caps

Check out my bottle cap ring post for a complete, in-depth tutorial on how to make these little bottle cap trinkets.

Now, it’s ribbon time!  I chose a nice blue ribbon to go with the pastel colors in my dessert themed bottle caps.

ribbon

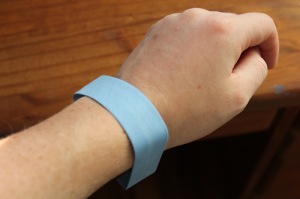
pretty in blue!

I took my ribbon and wrapped it around my wrist to measure just how much I would need.  I added and extra 1/2″ so the velcro can overlap. Meanwhile, I plugged in my trusty glue gun so it could start heating up!

measuringribbon

Then, I lined up all of my bottle caps along the ribbon to make sure they fit and arranged them in a pleasing color order.

linedup

I took my nice and toasty glue gun and put a dollop of glue on the ribbon and placed the cap on top.  I continued this all down the line until all the caps were glued.  The reason I used a little dot instead of a long line of glue is so that the caps are still flexible to bend around the natural curves of the wrist when the bracelet is worn.

gluedot

Once the caps were all glued it was time for velcro!

velcro

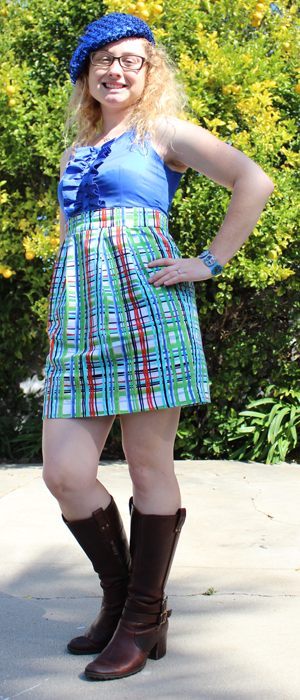
I attached the prickly side of the velcro to the side of the ribbon with the bottlecaps and the soft side the the underside of the ribbon.  Then I put the bracelet on and spent the day drooling overvmy wrist!  Mmm cupcakes 😀

closeup

fullbodyfinal

You can make bracelets like these in any color and with any images.  They make a great personalized gift for friends, too!  Enjoy 🙂


Girl Scouting is My Bag

24 Oct

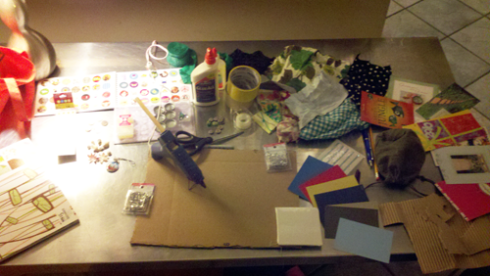
This weekend I went with my little buddy on a Girl Scout Camping trip.  This trip was right up my alley because we visited a colonial village where we got to try our hands at all sorts of traditional crafts such as candle dipping, butter churning, weaving and writing with a quill and ink!  Before going on the trip we had some crafting of our own to do – making  swaps!  Swaps are little objects such as beads, buttons, origami and anything else you can think of attached to safety pins.  Girl Scouts make about 50 each and bring them to camping trips like these in order to swap with their friends and collect all the different ones; hence the name “swaps.”  We had a pretty hefty crafting set-up:

supplies

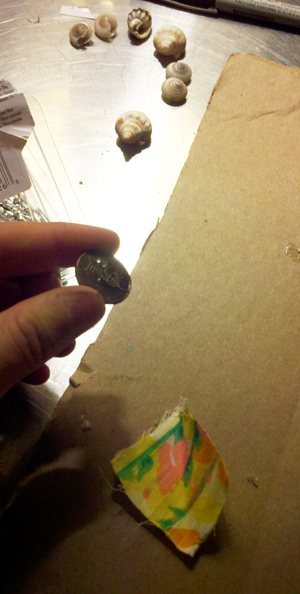
This is a great craft for using all the leftover scraps you may have saved from other crafts.  I used a penny, a seashell and a scrap piece of fabric to get us started.

pennyandfabric

First, I put a dollop of hot glue on the penny and placed it on the back side of the fabric.

glueingpenny

gluedpenny

Then I put some glue on the penny and folded in all the fabric edges to make a diamond.

gluedfabric

Lastly, I flipped the diamond over to the clean, non-gluey side, hot glued a pretty seashell on top and glued a safety pin to the bottom.  Ta-da!

finalfabricswap

We continued cutting and hot-glueing away, pairing together pretty random objects until we ended up with this lovely assortment:

finalswaps

Lots of use out of those bottlecaps!

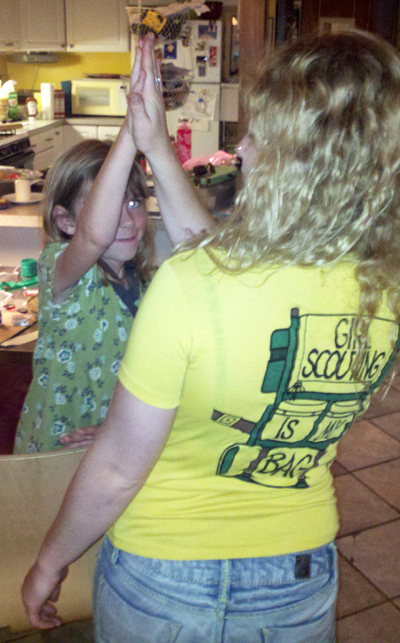
And a high five for a job well done 😀

highfive

Check out my sweet girl scouting t-shirt!

After a four hour drive out into the woods the swapping began!

swappingswaps

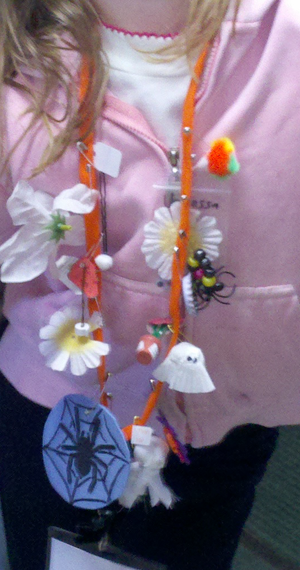
 Now, a hundred years ago when I was a kid it was all the rage to pin your swaps to a hat like a fisherman.  It seems the cool thing to do now is pin your swaps to a lanyard around your neck.  Kids these days. 😉

lanyard

After the swapping was complete we checked out other crafts.  Here we are learning to churn butter.  The woman in the picture told us it would take about 2 hours to make one cup of butter by hand!

churningbutter


We also learned how to write with feathers that come from turkeys and geese.  I have a whole new appreciation for my ballpoint pen!

quillandink

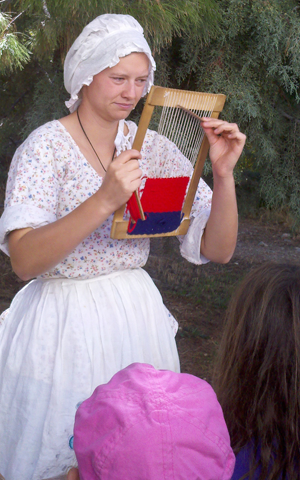
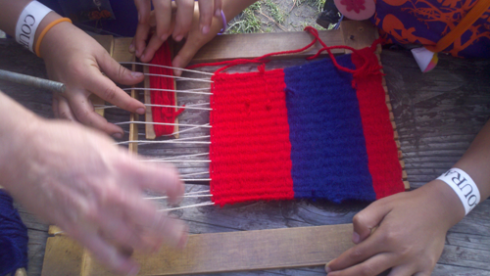
Lastly, we got to learn about my favorite craft: weaving!  This type of weaving was done on a very small, hand-held loom which was great for learning.  The kids learned all about the warp and the weft and the shuttle.   You can find an in-depth weaving tutorial in one of my earlier posts here.

womanweaving

kidsweaving

I was a Girl Scout for many years so this was a great way to re-live the experience and spend some time out in nature.  Visiting the colonial village reminded me that although most of my crafts are a luxury, the whole concept of crafting began out of necessity to make the things we need in order to survive!

Tutorial Tuesday: How to Make Bottlecap Jewelry!

11 Oct

A few months ago, I mounted a household campaign to save all of the bottlecaps we twist off of our beverages!  I didn’t know exactly what I would do with them at first, but I just couldn’t resist amassing a large collection of colorful tin.  Now that I have a sizeable sack of caps, I have been playing around with different usages.  Get ready for a slew of bottlecap related posts!  Today, I am going to show you how to make a bottlecap ring using almost all recycled materials!

For this project you will need the following materials:

materials


-pencil

-a bottlecap

-duct tape

-scissors

-a magazine, photo or drawing to cut up

-key ring, wire or a ring you no longer wear

-glue (or crafting glaze)

-pliers

Step 1: Trace the outline of a bottlecap onto a scrap piece of paper.

tracingbottlecap

Step 2: Cut out your circle template.

cuttingtemplate

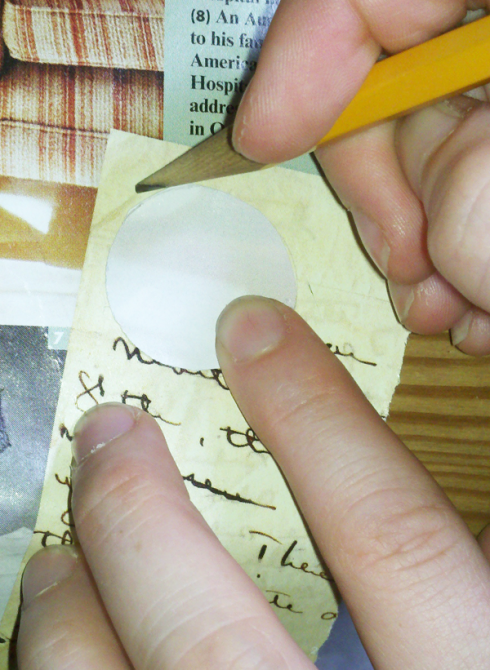
Step 3: Find an image you would like to place inside your bottlecap ring.  I looked inside magazines for mine, but yours could come from anywhere.  You could even draw it yourself!  Trace your template around your desired image.

tracingcircle

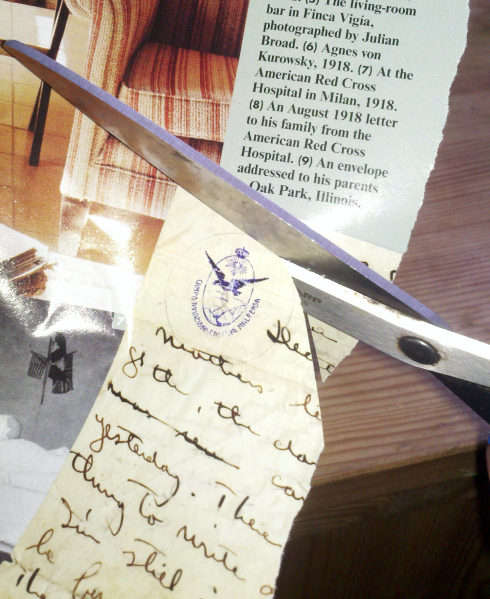
Step 4: Cut out the circle around your image.  I found a bunch of cool images but in the photo below I’m cutting out a cool old postage stamp.

cuttingcircle

Step 5: Dab some glue on the back of the circle and glue it face-up on the inside of the bottlecap.

glueingcircle

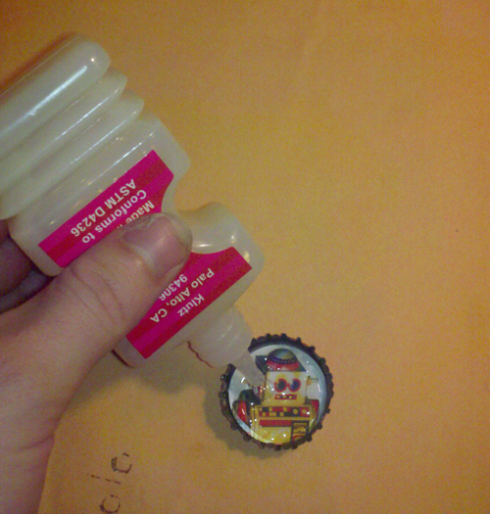
Step 6: Dab and spread around some glaze on top of the image as well to make it nice and shiny 🙂

glazingtop

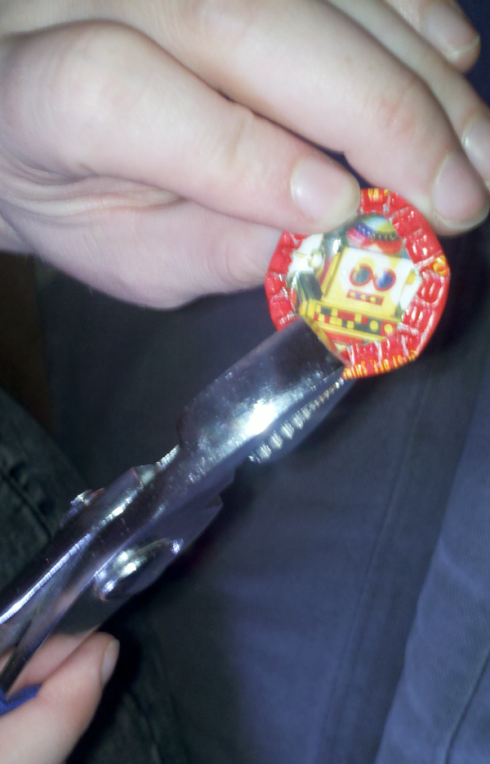
Step 7: Wait for the glue to dry and then use pliers to clamp down the serrated edges of the bottlecap.  For this one, I chose a bottlecap that would match the cool red robot image inside.

clampingedges

Step 8: Flip the bottle cap over and tape the ring down in the center with some duct tape.

       apedring

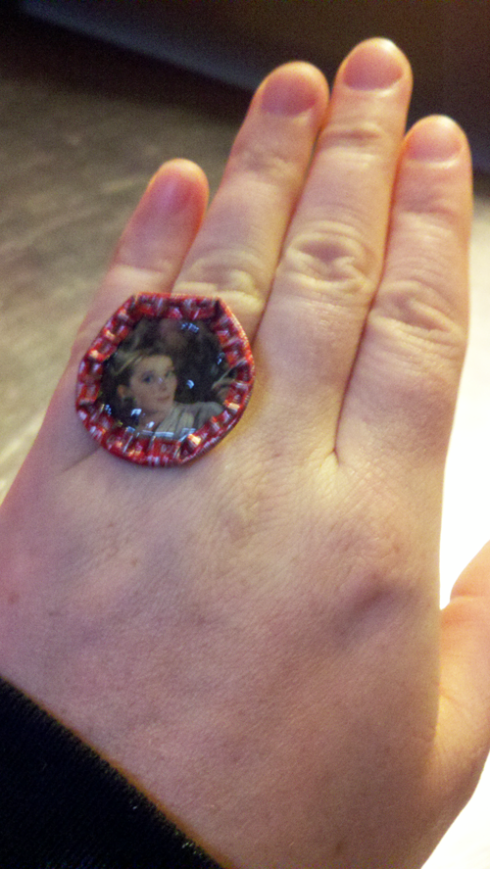
Step 9: Slip the ring on your finger and admire your handy work!  I chose a lovely picture of Audrey Hepburn for my final ring.  This is a very versatile project because you can make as many rings as you want and have one to match every outfit! 😀

final-ring