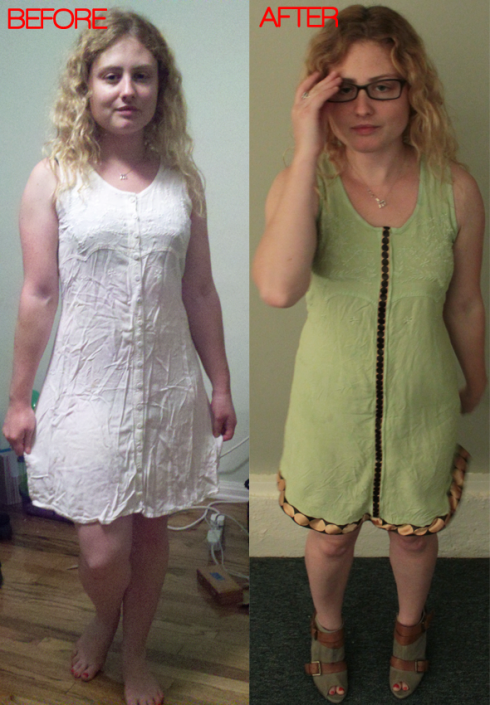
Today we are going to take an old white dress that was covered with stains and give it a new lease on life using some blast from the past inspiration – I found this amazing ribbon at the fabric store and just couldn’t pass it up:
This ribbon has a great 60’s mod flare that I tried to infuse into this old white dress, the outcome was pretty groovy 🙂
Total crafting time: About two and a half hours of actual work plus an hour for the dress to go through the washer and dryer while dyeing.
Materials:
-white or light colored dress
-one box of Rit dye in Kelly Green
-sewing machine
-1 yard of 1/2″ ribbon
-1 yard of 1 1/2″ ribbon
-thread to match ribbon
-scissors
-pins
-pitcher or bowl
-washing machine or large pot
-dryer or line to dry clothes
-water
-measuring cup
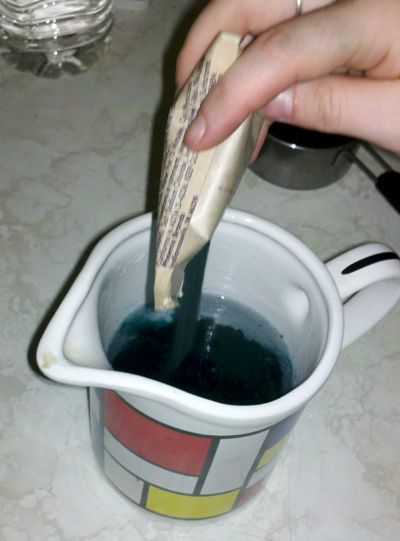
Step 1: Lets set up the dye bath. Pour two cups of hot water into a pitcher or bowl.
Step 2: Open your box of Rit dye and pour the entire package into the water.
Step 3: Stir the dye bath until all the powder is fully dissolved. Unless you want a green spoon, it is best to use a metal or plastic spoon rather than wood!
Step 4: Turn your washing machine to the hottest setting and shortest cycle and add the dye! Alternatively, you can add this dye to a pot of boiling water on top of the stove. Add enough water to fully submerge your garment.
Step 5: Stick the dress in the machine and wait for the cycle to finish! If boiling on the stove, leave the dress in about half an hour. Once you put the dress in the dye bath you will notice that it dyes right away. It is important to leave it in for the full cycle for the dye to set completely into the fibers and achieve the boldest colors. If you want a lighter color, use less dye and more water but still allow the garment to soak for a full half hour. In this case, I was going for bold and was very happy with the result!
Step 6: Remove the dress from the washer and stick it in the dryer or on a line to dry. A line is definitely the better option for the environment, but I just couldn’t wait to see the finished color so I went with the dryer 🙂
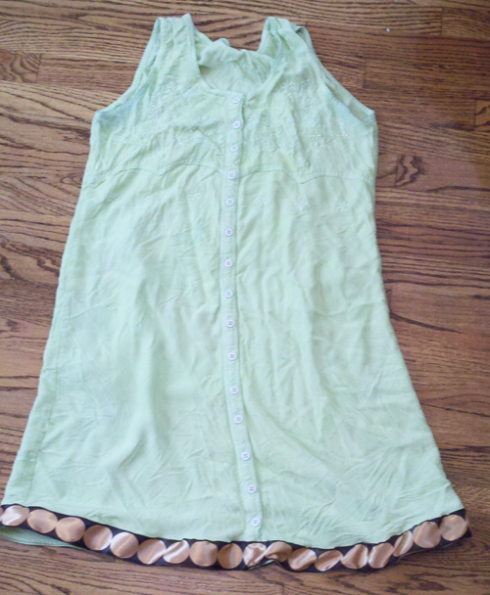
Step 7: The final color was nice and bright and complemented well the ribbon that inspired it all. Time to attach that ribbon!
Line up the bottom of the 1 1/2″ ribbon along the bottom hem of the dress and pin. Fold over and sew the ribbon at the ends so it doesn’t fray. The ribbon ends should meet at one of the side seams to make it less conspicuous.
Step 8: Thread the machine with thread that matches your ribbon and sew the ribbon to the hem! Try not to stretch and pull the fabric or the ribbon too much while you sew – otherwise your ribbon might come out all puckered and no one likes sour ribbon 😛
Step 9: It’s almost time to sew some ribbon down the center! But first I have to remove all those pesky buttons running down the center of my dress. I simply took some scissors and snipped off all 14 buttons and set them aside for use in a future project 🙂
After the button removal, I was left with a giant gaping hole in my dress!
I took to the machine and sewed it up. I wasn’t worried about matching thread because this part is going to be covered with ribbon.
Step 10: Pin the 1/2″ ribbon down the center front. Fold it over on both ends so it doesn’t fray.
Step 11: Thread the machine with matching thread and sew up that ribbon! Again, try not to pull or stretch the fabric too much as you sew in order to avoid bubbles or puckers in your ribbon.
Step 12: Now that the front is finished, it’s time to put the finishing touches on the back. The back of this dress has two fabric ties in order to pull the dress tight and make a bow. The ties were pretty lackluster so I removed them by cutting them out of the seam they were sewn into.
Step 13: Then, I used the leftover ribbon to replace the ties. Be sure to finish off the ribbon edges by sewing a little square at each end!
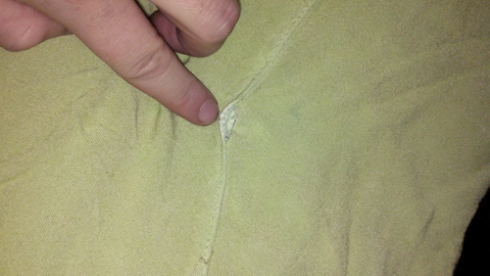
Then, I inserted the raw end of the ribbon into the little hole in the seam where I cut the original ties.
And the dress is complete! Here is the final product:
And the ties in the back:
Enjoy! And send me your versions for me to post on the site: grandmastercrafts@gmail.com


One Response to “Tutorial Tuesday: How to Dye a Dress”